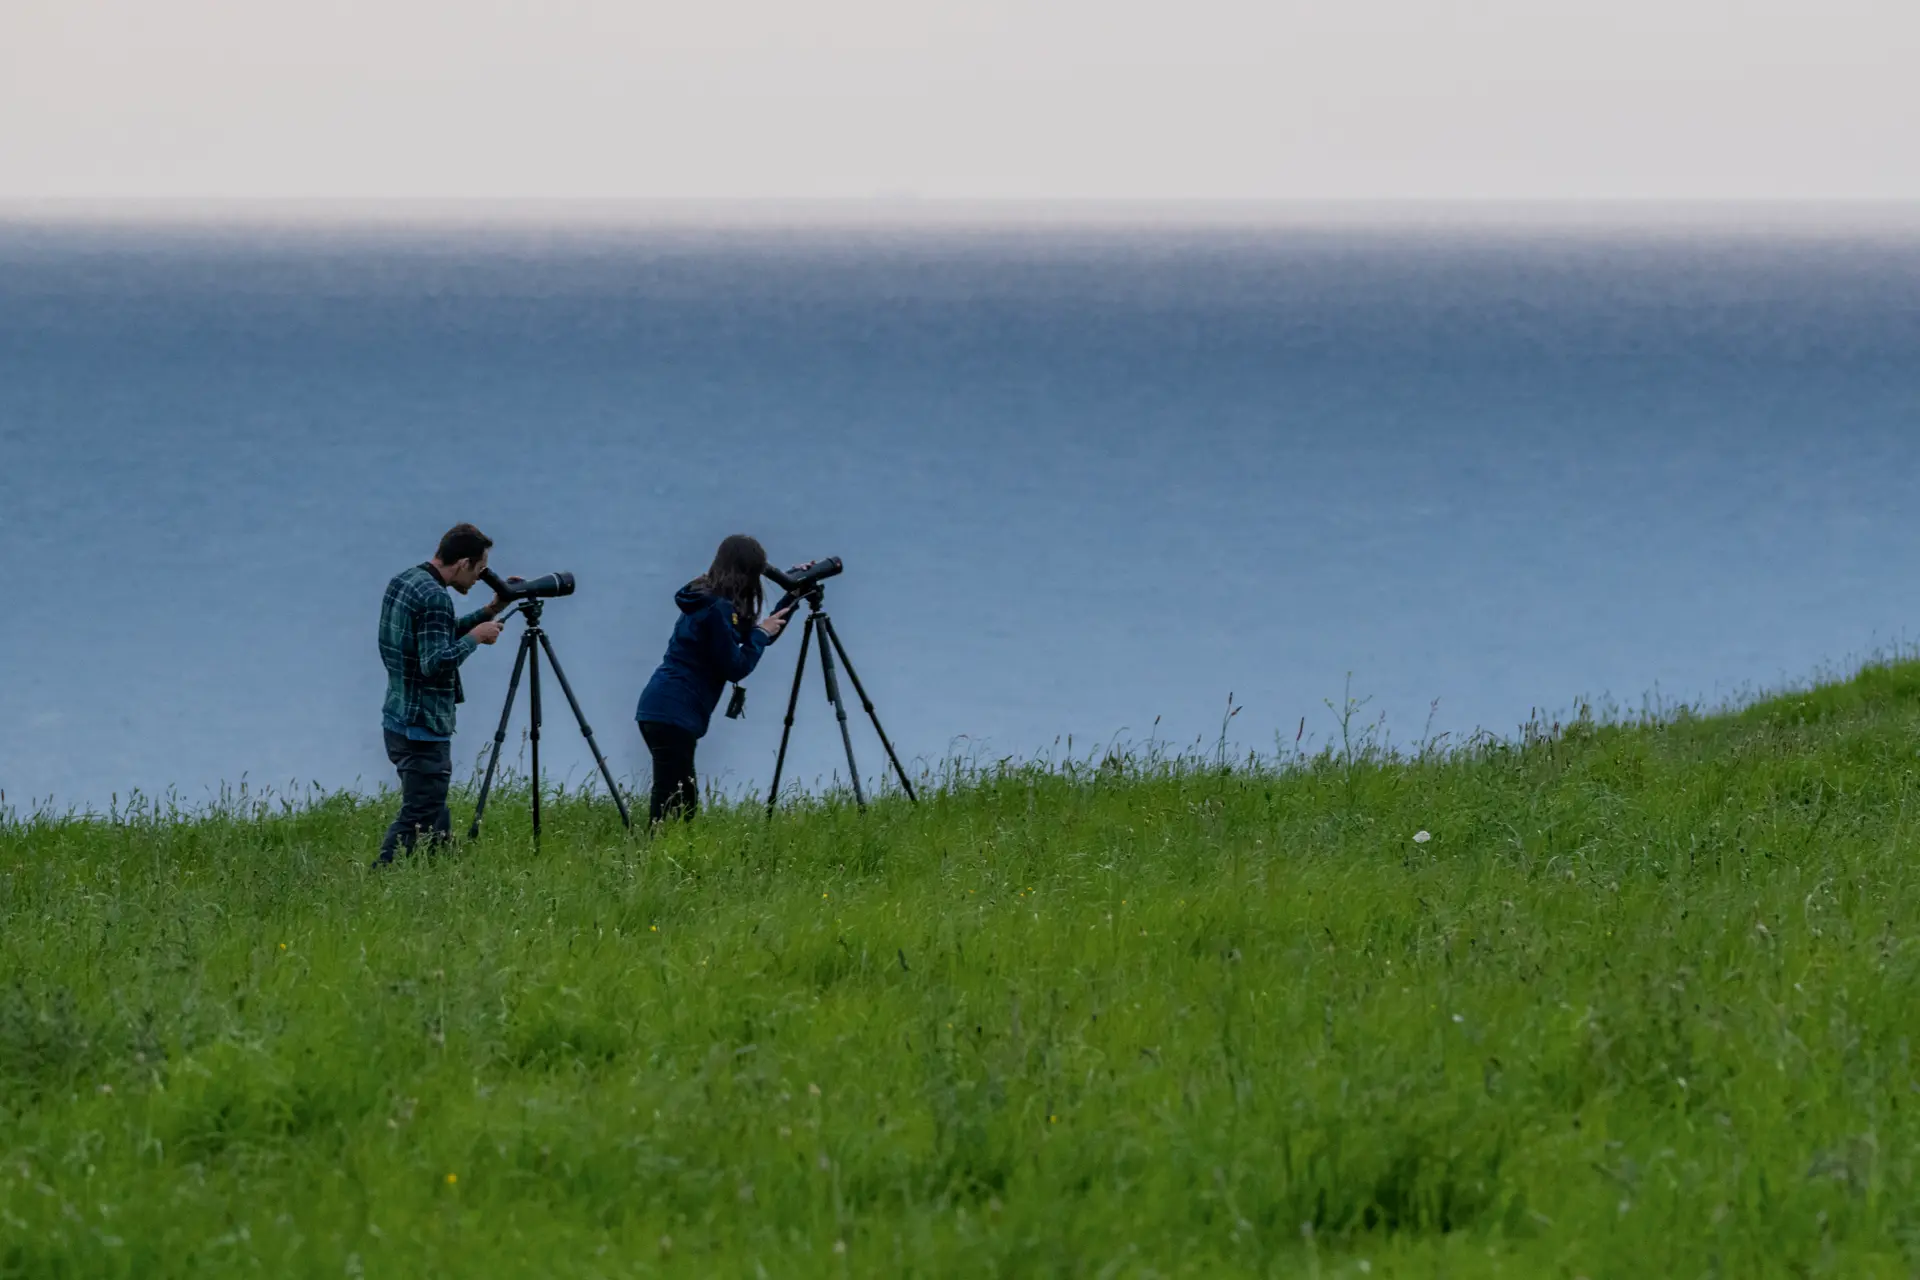
Observe, Capture, Share

Digiscoping has become an established part of nature observation and is now an integral part of our lives. As early as 1994, Leica introduced a photo adapter that allowed an analog camera to be connected to a spotting scope. This long-standing experience and profound expertise in high-quality camera systems for a wide range of photographic needs and applications have made Leica the only manufacturer in the premium segment worldwide today that offers a professional digiscoping system from a single source with perfectly coordinated components.
-

Leica Digiscoping with a Smartphone
Discover Leica DigiscopingThose who experience nature closely want to document special observations and share them with others. Many nature lovers use their smartphones for this purpose to capture spontaneous snapshots during their excursions.
-

The Set-Up for Smartphone Digiscoping
With a compatible snapshot adapter like the Snapcase or the Magnetic Tab from Ollin, your smartphone, when paired with a Leica Televid spotting scope, becomes a powerful digiscoping tool. This allows you to capture razor-sharp photos and videos of birds or shy wildlife – without disturbing the animals at all. Simple, portable, and impressive: perfect for anyone who wants to capture and share their experiences in nature.
-

Leica Digiscoping
with Leica CamerasDiscover Leica DisicopingFor ambitious nature photographers, Leica Sport Optics offers a perfectly coordinated digiscoping system including accessories to make nature shots a special experience. Leica is the only premium optics manufacturer to supply a complete system from a single source – ideal for professionally capturing and sharing impressive moments in nature.
-

The Set-Up for Digiscoping with Leica Cameras
Leica cameras, such as the Q, SL, and M digital models, impress with their intuitive operation and uncompromising optical and mechanical quality. With the right adapter, any of these cameras can be quickly and easily connected to a Leica APO-Televid or Televid HD spotting scope. This transforms the spotting scope into a high-performance camera lens, enabling natural and detailed images even from great distances.
Tips for Razor-sharp Images
Leica Televid spotting scopes are among the very best in optics. When combined with cameras or smartphone adapters, they become the ideal tools for ambitious digiscopers. However, to reveal their full potential, you need more than just good equipment: you need a trained eye, technical control, and patience. Those who master exposure, focus, and composition will be rewarded with brilliant images that go far beyond documentation.


The Right Combination: Spotting Scope, Camera, and Adapter
For optimum digiscoping with the Leica Televid spotting scope, we recommend the Leica Vario eyepiece 25-50x WW ASPH. It offers a wide field of view and a planar image – ideal for projecting onto the camera sensor. Suitable adapters secure the camera precisely on the optical axis, as even the slightest tilt can cause edge blurring, vignetting, and loss of sharpness. Cameras with fixed focal lengths are recommended, as they offer less vignetting and more stable quality. Light digital zooming prevents peripheral shading.